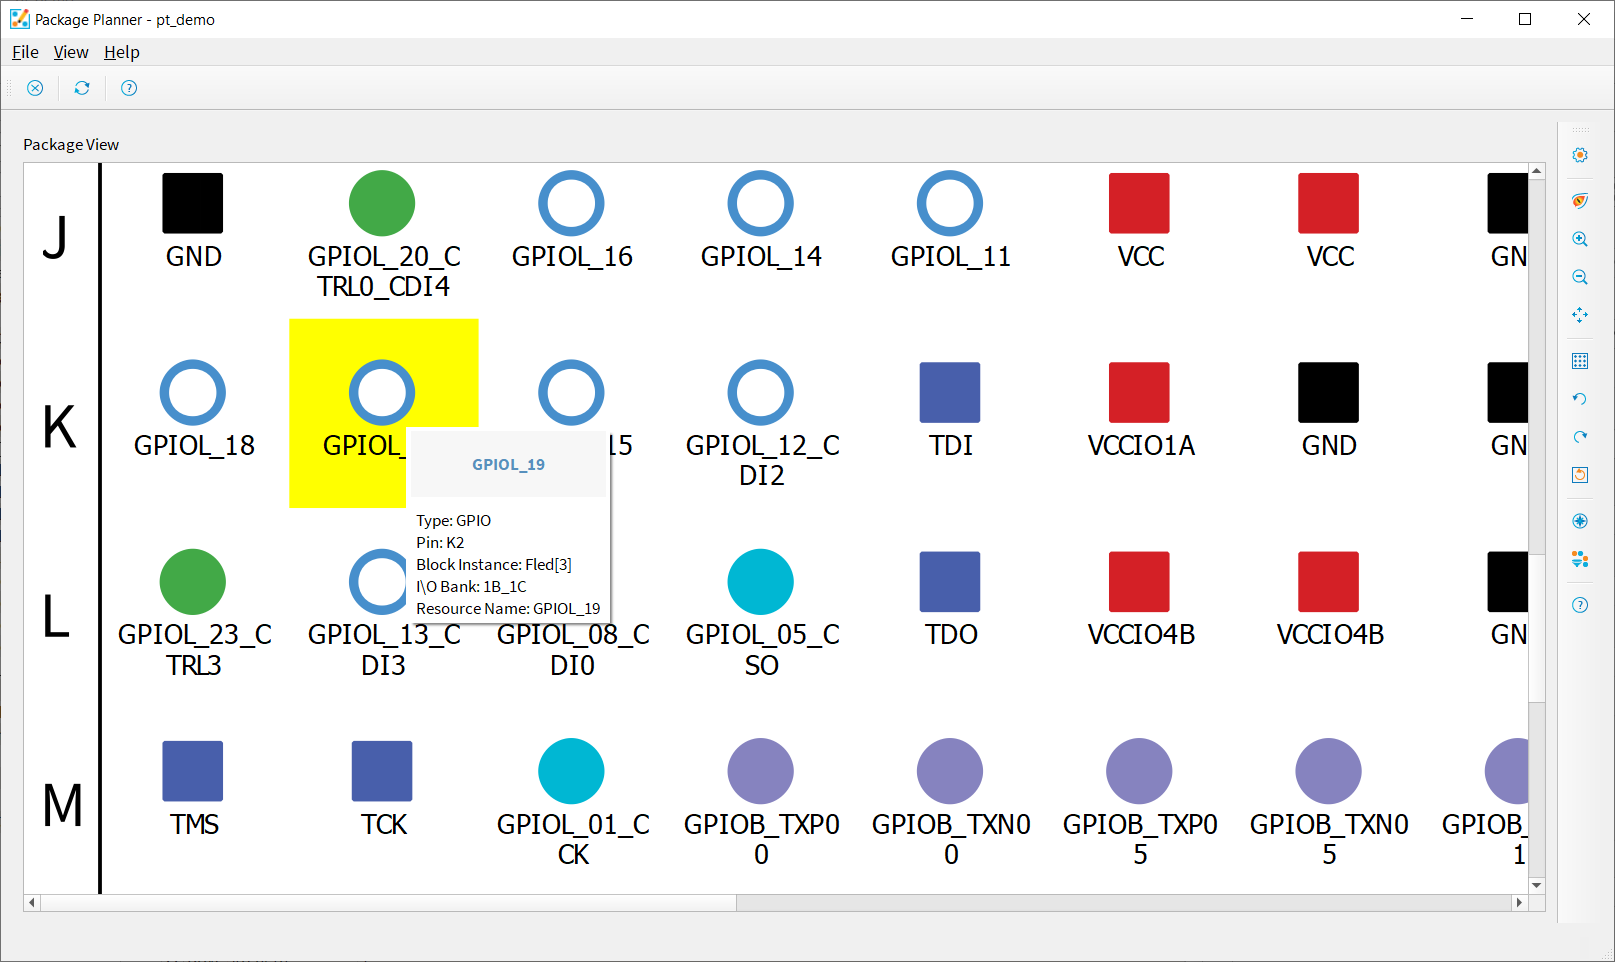
Selecting a Pin
Click a pin in the pinout to highlight it. The Pin Information tab opens to show the details about the selected pin. Open the Legend to view the meaning of the pins' color coding. Select multiple pins by pressing the Control key and clicking (however, the Pin Information tab only shows data for the first pin you click).
In v2025.2 and higher, you can use the Package Planner for pin assignment:
- Click the pin.
- In the Pin Information tab, choose the instance in the Block Instance drop-down list box.
- Choose the I/O bank voltage and I/O standard.
Note: You can also set the voltage for the entire I/O bank in the I/O Bank
Information tab. If the voltage etting for the entire I/O bank does not
match what you choose for the pin, the software highlights the error and displays an
error message.
You can also hover over a pin for a quick view of the pin details.